


Painting the interior of your house yourself - our advice
- Aug 1, 2025
- 6 min read
Updated: Aug 21, 2025

Renovating or building a house, cottage, or garage in Quebec often involves an important decision: should you entrust the painting work to professionals, or can you do it yourself? At Plan Maison Québec, we know that many people want to personalize their interiors while keeping their budget in check. Painting the interior of your Quebec City house is an economical and rewarding solution, provided you do it right.
In this article, we offer a comprehensive overview to guide you through your painting project. From surface preparation to the finishing touches, follow these tips inspired by best practices to achieve a professional finish, even without experience.
Good preparation: the key to successful painting
Before even considering dipping a brush into a can of paint, the first step—and arguably the most critical—is preparing the project. Too often overlooked, this phase is nevertheless essential to ensuring impeccable and lasting results. Proper preparation begins with a thorough cleaning of the surfaces to be painted.
Dust, grease, or even old paint residue can impair the adhesion of the new coat and cause visible defects. It is therefore recommended to wash the walls with a damp cloth or a lightly soapy sponge, then allow them to dry completely.

Next, all irregularities must be corrected. Cracks must be filled with a suitable coating, holes carefully filled, and surfaces sanded until the wall is smooth. This step takes time, but it directly affects the quality of the final result. You must also remember to properly protect any elements that are not to be painted: baseboards, door frames, handles, light fixtures, etc.
A high-quality masking tape, applied carefully, helps prevent unsightly smudges and saves you valuable time during the finishing touches. At Plan Maison Québec, we always insist on this preparation, as it forms the foundation of careful work.
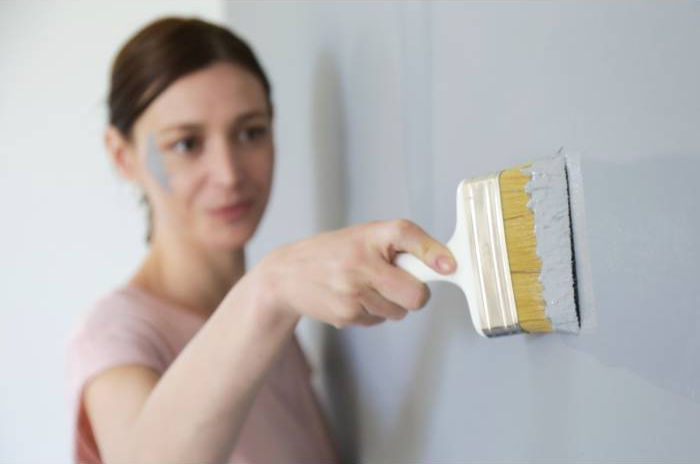
Choosing the right equipment for efficient work
Starting a painting project without the right tools is a bit like building a house without a foundation: the result won't last. The choice of materials is just as important as the paint itself. A poor-quality roller can leave streaks or lose fibers, while a poorly designed brush won't allow you to make precise cuts, especially around corners or edges. It's therefore essential to invest in professional equipment, even if it means a slight additional cost upfront.
A medium-nap roller is perfect for smooth interior walls, while a long-nap roller is preferable for textured surfaces. For corners, ceiling edges, or around windows, an angled brush ensures clean and precise work.
Don't forget to use a paint tray with a wringer, which helps distribute the paint evenly on the roller. Add to this a telescopic handle and a stable stepladder, and you'll be well equipped to complete your project. Plan Maison Québec recommends that its customers never neglect this logistical step. Good equipment will save you from fatigue, waste, and frustration.

Understanding the types of paint to make a better choice
Interior paint comes in a multitude of products, each meeting specific needs. Choosing the wrong paint can compromise the aesthetics and durability of your project. For interior walls, acrylic paint is the most popular. Easy to use, it dries quickly, has little odor, and can be cleaned with water.
It is ideal for living rooms, bedrooms, or hallways. However, for damp rooms such as bathrooms or kitchens, a more moisture-resistant paint is required. In this case, an alkyd paint, which offers better resistance to rubbing and water, is preferable.
The choice of finish is also fundamental. Matte paint creates a subdued and elegant atmosphere, perfect for hiding small wall imperfections. However, it is more difficult to clean. A satin finish represents a good compromise between aesthetics and ease of maintenance, while a glossy finish—often reserved for woodwork or furniture—is very durable but accentuates surface imperfections.
At Plan Maison Québec, we always advise our clients based on the use of each room and the natural light available, because a color can appear very different depending on the ambient lighting.

The importance of primer
Applying an undercoat, or primer, may seem unnecessary, especially when you're in a hurry to see the final result. However, this step plays a crucial role in the quality of the work. Primer not only seals the surface but also evens out its absorption. Without primer, the finish paint can absorb unevenly, causing stains, matte and shiny areas, or even requiring a third coat to mask the background.
On new surfaces like drywall, priming is mandatory. It ensures paint adhesion and facilitates application. It's also essential when making a radical color change, such as going from a dark red wall to an off-white. Primer prevents the old color from showing through and ensures a faithful finish to the chosen color. Plan Maison Québec strongly recommends not skipping this step; it will save you additional expense and ensure a more uniform and durable finish.
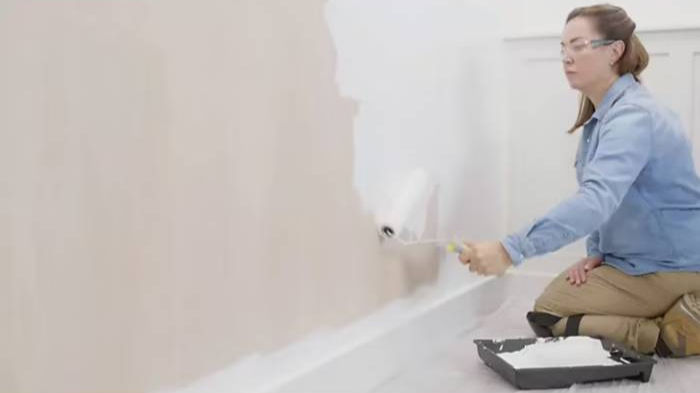
Work methodically for a uniform result
A uniform, streak-free painting pattern requires method. It's not enough to paint haphazardly until the entire wall is covered. Start with the ceilings, which avoids splatters on freshly painted walls. Then, paint the walls, finishing with the woodwork and baseboards. This logical progression limits touch-ups and ensures visual continuity throughout the room.
The painting technique itself greatly influences the result. It's recommended to paint in a "W" or "M" pattern, then fill in the empty spaces, without applying excessive pressure with the roller. This allows the paint to be distributed evenly without creating streaks. It's also essential to maintain a wet edge to avoid demarcation lines when the paint begins to dry.
This type of detail may seem trivial, but it makes all the difference in daylight, especially on large, well-lit walls. At Plan Maison Québec, we always encourage our clients to take their time and paint in coherent sections.

Do not underestimate drying time
Drying is a step that many DIY enthusiasts tend to rush. We often believe that a paint is dry because it no longer feels tacky to the touch. However, surface drying does not mean that the coat is completely cured. Applying a second coat too quickly can cause bubbles, cracks, or affect the overall durability.
It is therefore recommended to follow the manufacturer's instructions, which take into account normal temperature and humidity conditions. During the summer, when humidity is higher, drying may be slower. Plan Maison Québec often reminds its clients that good indoor climate conditions—between 18 and 22°C, with adequate ventilation—contribute greatly to the success of the project. Thorough drying between coats and before replacing furniture ensures a lasting result.

Painting ceilings: a challenge in itself
The ceiling often represents a dreaded challenge for painting enthusiasts. Not only is it physically demanding—arms constantly raised, awkward postures—but it also increases the risk of drips and smudges. However, with a little method, painting a ceiling can be done without too much stress. It is recommended to use a roller with a telescopic handle and to start by working in the direction of natural light, i.e., toward the windows, to avoid visible streaks.
You must also be careful not to overload the roller, which causes drips and excess paint. Working in sections of approximately one square meter and maintaining a consistent pace will achieve a smooth finish. Once again, patience is your best friend.
If your ceiling is textured or has moldings, it may be a good idea to use a special brush to thoroughly cover the details without overspreading the paint. Plan Maison Québec recommends always painting the ceiling first when completely redoing a room to avoid tedious touch-ups on the walls.

The art of touch-ups and finishing touches
When most of the work is completed, there are often still touch-ups to be made to perfect the final result. This is where attention to detail becomes essential. Corners, angles, and junctions with baseboards or window frames must be carefully examined for any smudges, streaks, or imperfections. Using a small, clean, and precise brush allows these touch-ups to be made without affecting previously painted areas.
It's also important to remove the masking tape at the right time. Waiting for the paint to dry completely can cause it to crack or tear along with the tape. Removing the tape as soon as the paint is dry to the touch, pulling slowly and at a shallow angle, achieves clean, professional lines.
This finishing step, while seemingly minor, can transform an amateur result into a work that looks expert. This is also the time to check color consistency in daylight, which can reveal shades different from those seen the day before.
Conclusion : interior house painting Quebec
Painting your own home can seem intimidating at first, but with the right tools, careful preparation, and expert advice, the project becomes not only achievable but also rewarding. Whether you're building a new cottage or renovating your main residence, taking charge of your interior painting can save you money while giving you the satisfaction of a job well done.
At Plan Maison Québec, we believe that every step of a residential project deserves careful consideration, including the finishing touches. If you need assistance with your project or would like to start a personalized plan for your house, cottage, or garage, our team is here to guide you.
Plan Maison Québec is your trusted partner for designing spaces that reflect your image.

Comments